

Barcodes and label printing
A barcode is the cheapest UX upgrade in retail: it turns “search the screen for the right product” into “scan, sold.” Fexl Lite generates barcodes for any product missing one, scans them at the till from a keyboard-emulating reader, and prints sticker sheets to a regular A4 printer in label-sheet layouts.
Generating a barcode
Open the product
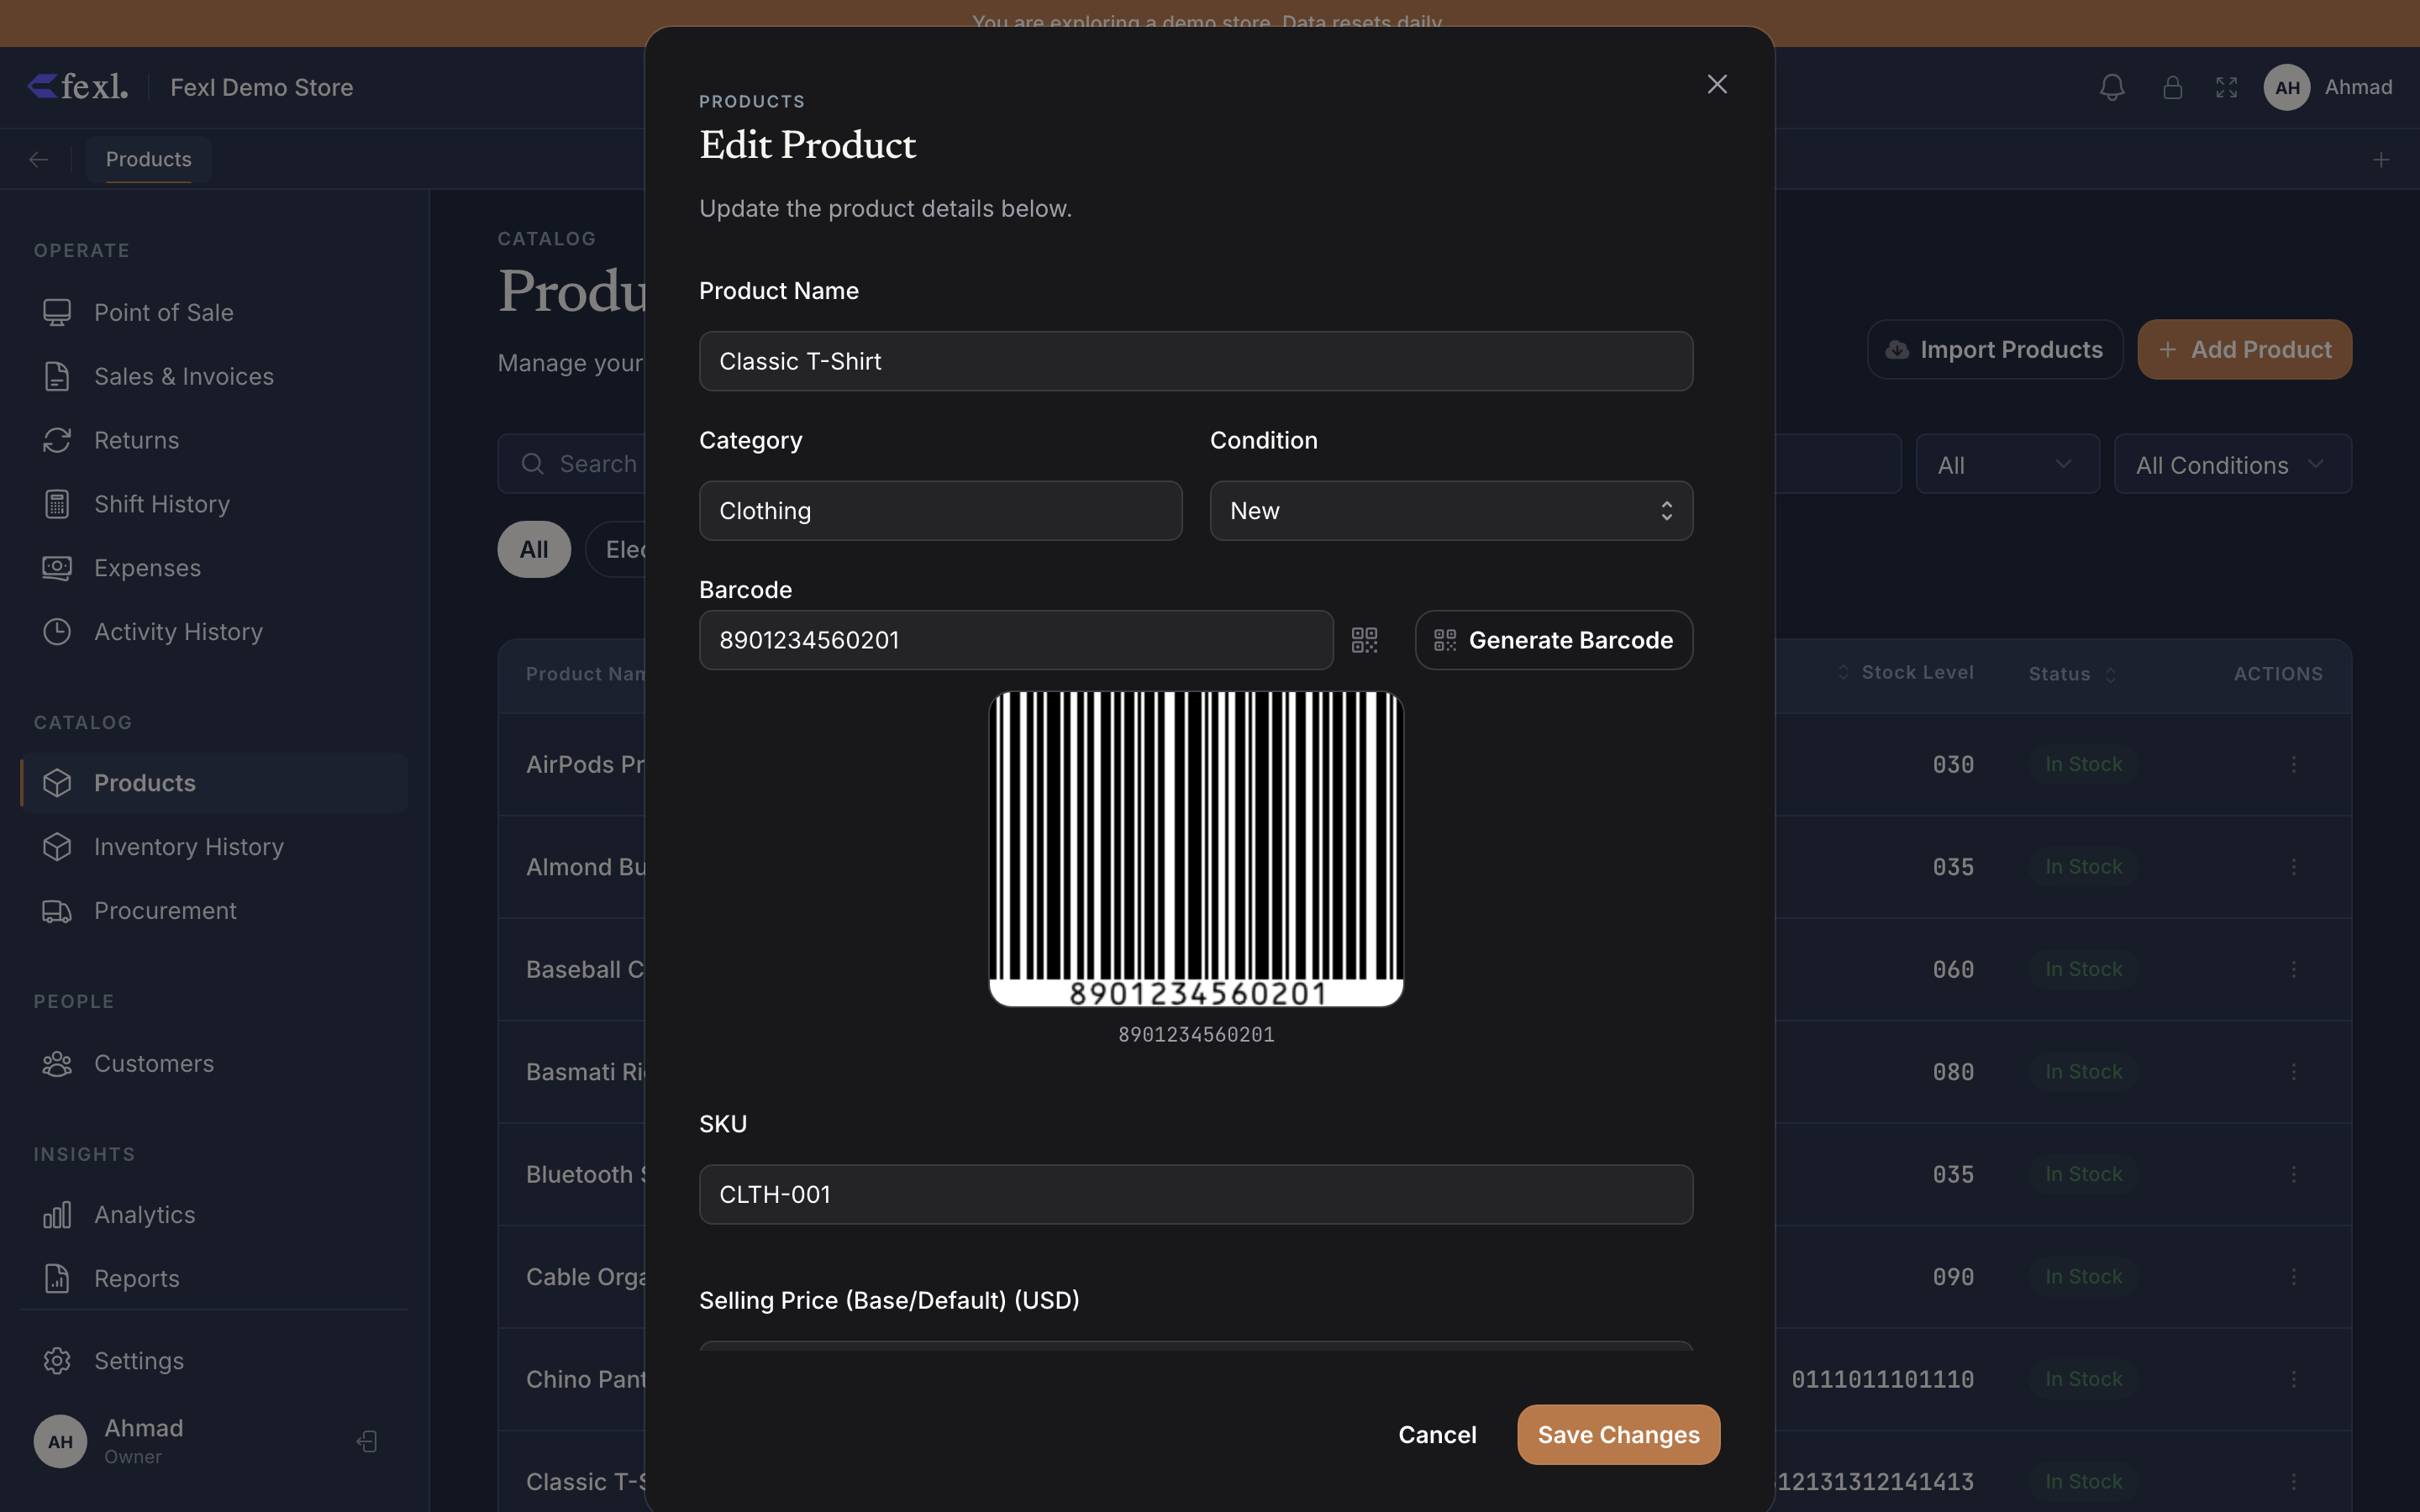
From Products, click any row to open the edit form. The Barcode field is in the basics section.
Pick a path: type, scan, or generate
Three options into the same field:
- Type it if the product already has a manufacturer barcode on the box. Paste it in.
- Scan it with your reader — the field accepts the keystrokes the scanner sends.
- Generate Barcode for an auto-unique EAN-compatible code. The button is right next to the field; the generated code shows an inline preview so you can sanity-check before save.
Save
The barcode now lives on the product and lights up the POS scan path.
Scanning at the till
Most retail USB/Bluetooth scanners emulate a keyboard — they don’t need a driver. Plug the scanner in, focus the POS, scan a product. The keystrokes feed straight into Fexl Lite’s background scanner listener; on a match, the product (or specific variant) drops into the cart. No extra dialog, no “scanner mode” toggle.
Supported formats out of the box:
- EAN-13 — the global retail standard, 13 digits, what most consumer products carry.
- EAN-8 — short-form 8-digit EAN for small packages.
- Code 128 — variable-length, alphanumeric, common on shipping and warehouse labels.
- UPC-A / UPC-E — North American 12-digit codes; treated as EAN-13 with a leading zero.
- QR codes — supported by the scanner if it can emit them as keystrokes; useful for serialized identifier capture.
The Generate Barcode action emits Code 128 by default — it can encode any of the SKU formats Fexl Lite uses (alphanumeric, 8–16 chars).
Printing labels
Fexl Lite ships a built-in label printer that emits a PDF you can run through any sticker printer or a standard A4 printer with adhesive sheets. Reachable from any product row’s overflow menu via Print Barcode Label(s).
Pick the products to print
From the Products page, select one or more rows (or select all in a category) and click Print Labels. The dialog opens with the selected product list.
Pick a label sheet layout
Standard A4 templates ship in: 30-up (Avery 5160 / L7160), 21-up (3×7), 14-up (2×7), and 8-up (2×4 large labels). Or paste a custom mm-by-mm size for thermal label rolls.
Choose what to print on each label
The label includes: barcode itself, product name, SKU, selling price, and category. Toggle each row to keep the label tidy — for thermal sticker rolls, one or two lines is usually enough.
Generate PDF and print
The dialog renders the PDF in-browser. Save it, or open it in your OS print dialog. The PDF is regular A4 (or your custom size) — any printer that handles paper handles this.
Bulk reprint after a price change
When prices move, the barcodes don’t — the code on the sticker is just an identifier, the price is on the screen. So you don’t actually need to reprint barcodes when prices change. Reprint when:
- The barcode itself changed (rare — usually a product was rebarcoded by the supplier).
- You want updated price text on the sticker as a customer-facing aid.
- A sticker peeled off and the original is gone.
Filter the Products page to the affected category, multi-select, Print Labels, choose the price toggle, generate the PDF.
Related
Simple products
Where Generate Barcode lives — on the product create/edit form.
Barcode scanning at the till
The background listener, the variant scan path, the troubleshooting flow.
Variants
Each variant can carry its own barcode; bulk generate covers the whole tree.
Receipt printer setup
Different path — thermal receipt printing is Tauri-only.